Sewing kits for beginners are often sold as cheerful little boxes stuffed with thirty tools, most of which are too flimsy, too small, or mysteriously shaped. I have opened enough garment bags in my twelve years of bridal alterations to know that a useful sewing setup does not need to be enormous. It needs the right tools, chosen for the work you are likely to do: replacing a button, shortening a hem, repairing a split seam, or making a blouse sit properly at the shoulder.
The inside tells the truth. That applies to a garment and to a sewing kit. Look past the bright packaging and inspect what is actually included.
The essential tools in sewing kits for beginners
Start with a small, dependable collection rather than buying every gadget on the craft-store wall. A pair of sharp fabric shears is the first serious purchase. Choose scissors that feel balanced in your hand and reserve them for fabric. If someone uses them to cut cardboard, tape, or a package, the blades will sulk when you need a clean edge.
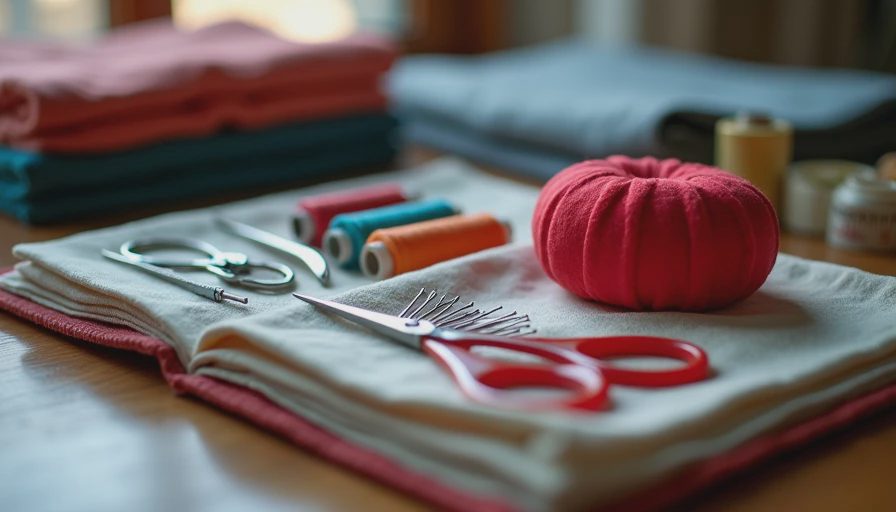
You also need a small pair of thread snips or embroidery scissors for trimming tails close to a seam. A tape measure is more useful than a rigid ruler for clothing because bodies and curved seams are not made of straight lines. Add a seam ripper with a fine point, several hand-sewing needles, and a pincushion or magnetic needle holder.
Thread deserves more attention than it receives. All-purpose polyester thread in black, white, navy, gray, and a few common neutrals will cover most repairs. Polyester has enough strength and give for everyday clothing. Cheap thread can become fuzzy, break while you sew, and leave a seam that looks like it was assembled by a nervous spider.
A thimble is optional, but I recommend trying one. It protects the finger that pushes the needle through dense denim or multiple layers at a waistband. A small iron and pressing cloth are also valuable. Pressing is not the same as ironing; pressing sets a seam in place instead of dragging fabric across it.
What to skip when you are building your first kit
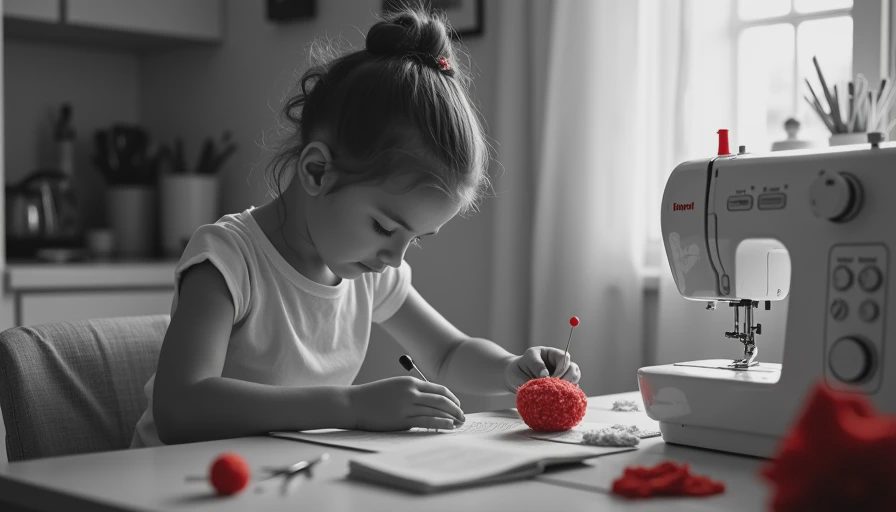
Many sewing kits for beginners include tiny scissors, oversized plastic buttons, a few yards of bargain thread, and needles that bend when they meet a sturdy hem. That bundle may be acceptable for an emergency hotel-room repair, but it is not a sensible foundation for clothing work. A needle that is too thick can leave visible holes in silk or lightweight rayon, while a dull needle makes even a simple repair frustrating.
Skip the giant assortment of decorative threads until you know what you sew. You will get more use from six good spools than from forty colors that shed lint and tangle. Skip rotary cutters at first unless you plan to cut quilting cotton or make repeated straight cuts. They are useful, but they require a cutting mat and careful handling. They are not magic scissors.
Be cautious with all-in-one kits priced under $10. Some are perfectly serviceable for a loose button, but the contents often cannot handle denim, coat linings, or repeated use. A basic kit in the $20 to $45 range usually gives you better needles, stronger thread, and tools that do not feel disposable. Spending a little more at the beginning is cheaper than replacing every item after two projects.
Match the tools to the clothing you repair
The best sewing kits for beginners depend on your wardrobe. If your regular repairs involve office blouses, look for fine sharp needles, lightweight polyester thread, small scissors, and pins with slender shafts. For jeans and canvas, add heavy-duty needles, a thimble, and topstitching thread. For knits, use a ballpoint needle so the tip slips between fibers instead of splitting them.
If you alter dresses, a flexible tape measure and a reliable seam ripper matter most. Bridal and formal fabrics can be unforgiving: satin shows every uneven stitch, and beaded fabric can catch on a rough tool. Keep a scrap of similar fabric beside you while testing thread tension and stitch length. That one habit prevents a surprising number of expensive mistakes.
A beginner does not need a sewing machine immediately. Hand stitching teaches how fabric behaves at a seam and gives you control over small repairs. When you do buy a machine, spend time learning its straight stitch, reverse function, bobbin winding, and tension adjustment before shopping for decorative feet.
How to organize sewing kits for beginners
Keep the supplies where repairs actually happen. A lidded box near your closet works better than a beautiful basket buried in a basement. Divide tools into sections: cutting, hand sewing, measuring, and pressing. Store needles in their original labeled packet or a needle book, because “the thin one” is not a reliable filing system at 9 p.m. before a meeting.
Put a small repair kit in a travel pouch with neutral thread, two needles, a needle threader, spare buttons, and tiny scissors. This is useful for a loose jacket button or a hem that lets go during a trip. Keep the full kit at home for real work. Mixing the two means the tool you need will always be in the wrong bag.
Label thread colors with a small piece of masking tape. Black and navy look different under daylight but remarkably similar under a closet bulb. Keep fabric scraps from clothing you alter, too. They help you test stitches and can become matching patches for interior repairs.
A first project that teaches useful skills
Do not begin with a complicated dress. Choose a shirt with a loose button, a pair of trousers needing a small hem adjustment, or a pillowcase made from stable cotton. Examine the existing stitches before removing anything. Notice the seam allowance, the direction of the fabric, and whether the thread is doubled.
For a button, knot the thread securely on the inside, bring the needle through the original hole, and match the spacing of the remaining buttons. Do not pull so tightly that the fabric puckers. If the button sits on a thick coat or waistband, create a small thread shank so the fabric can close without strain.
For a hem, press the fold first, pin sparingly, and use small even stitches that do not show on the outside. Take the garment off while marking it; trying to pin a hem accurately while wearing it is an excellent way to prick yourself and still get an uneven line. Sew slowly, then press again.
My practical buying checklist
When comparing sewing kits for beginners, open the package if the store allows it or read the contents carefully online. Confirm that the scissors are intended for fabric, the needles cover more than one size, and the thread is labeled all-purpose polyester. Check whether pins, a tape measure, a seam ripper, and a needle threader are included. Those are the pieces you will reach for first.
Then ask what is missing. If there is no iron or pressing cloth in your home, plan for that purchase. If you own several pairs of scissors but none are sharp, replace the weakest pair rather than collecting more. If you repair stretch clothing, add ballpoint needles. If you work with denim, add stronger needles and thread.
A sensible first setup often costs $30 to $60 when purchased thoughtfully. That is enough to repair a closet full of everyday clothes without turning your home into a notions department. Sewing kits for beginners should make clothing more manageable, not make you feel as though you have enrolled in an exam.
The aim is control: a clean button, a quiet hem, a seam that lies flat instead of shouting for attention. Buy tools that let you see and correct the construction. Once you can turn a garment inside out and understand what needs fixing, every future project becomes less mysterious. That is the real value of sewing kits for beginners: not the number of pieces in the box, but the confidence to make careful, useful changes.



No notes yet — write the first one.