Learning how to fix a zipper can save a favorite skirt, jacket, or handbag from the donation pile. Most zipper problems are not dramatic failures. A slider has wandered out of alignment, fabric is caught in the teeth, or the top stop has loosened. Those are small construction problems, and small construction problems are exactly what an alterations table is for.
I have repaired thousands of garments, including wedding dresses where the zipper was carrying more tension than the bride's entire family. The first rule is simple: do not yank harder. Zippers respond to alignment, not optimism. Turn the garment inside out if possible, examine the tape and stitching, and identify the fault before reaching for pliers.
Start by Diagnosing the Zipper
The way a zipper fails tells you what kind of repair it needs. If the slider moves but the teeth separate behind it, the slider is usually too loose or slightly bent. If the slider will not move, look for trapped lining, thread, or fabric. If the teeth are missing, cracked, or visibly distorted, a replacement is more sensible than a clever home repair.
For a zipper that keeps opening, close it as far as it will go and inspect the two rows of teeth. They should meet evenly, without one side sitting higher than the other. A slider that looks stretched at its mouth can sometimes be tightened by a fraction with small pliers. Wrap the slider in a scrap of cotton first so the metal does not acquire a bright, ugly bite mark.
When figuring out how to fix a zipper, check the fabric around it as carefully as the zipper itself. A side seam pulling at the waist can place too much strain on the closure. On jeans, a tight waistband may be blamed for a bad fly zipper when the real problem is the garment's fit. The inside tells the truth.
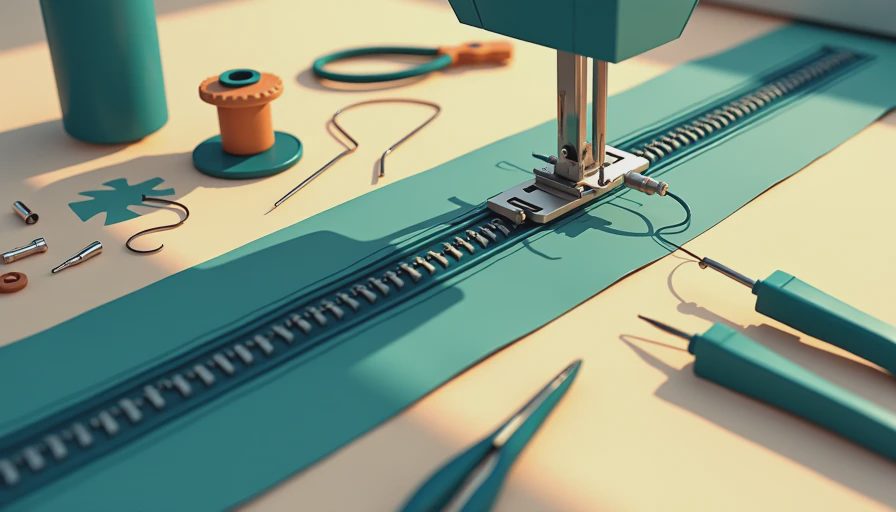
How to Fix a Zipper With a Stuck Slider
A stuck slider needs patience and a clear view. Do not use cooking oil; it can spread into the fabric and leave a permanent dark halo. Instead, remove loose threads with a seam ripper or fine scissors. If cloth is caught in the slider, pull the fabric backward while gently rocking the slider in the opposite direction. Small movements are better than one forceful pull.
For metal teeth, rub the edge of a graphite pencil lightly along the teeth near the slider. A dry bar of soap can also provide a little lubrication, but test it on an inconspicuous area first. Move the slider a few millimeters at a time, then brush away residue. Plastic coil zippers need an especially light touch because a sharp tool can cut the coil instead of freeing it.
If the slider comes free but immediately jams again, inspect the zipper tape. A twisted tape, crooked seam allowance, or bulky lining can push the slider sideways. Baste the lining temporarily away from the teeth and test the closure again. That test often reveals whether the zipper is faulty or simply installed under tension.
How to Fix a Zipper That Separates
A separating zipper is commonly caused by a loose slider. The slider must press both rows of teeth together; if its opening has widened, the teeth pass through without locking. With the zipper fully closed, use narrow pliers to squeeze each side of the slider very gently. Make one small adjustment, test it, and repeat only if necessary. A quarter turn of pressure is already plenty.
Do not squeeze the entire slider flat. It needs room to travel, and an over-tightened slider will jam halfway up. If the zipper now closes but feels rough, check whether the teeth are aligned or whether the tape has been pulled out of the stitching. A zipper that separates under ordinary movement often needs the top stitching reinforced as well.
On a dress or skirt, examine the hook-and-eye above the zipper. That tiny fastening is not decoration. It takes pressure off the top of the zipper while you sit, bend, and move. If it is missing, sew on a new hook and eye by hand with several secure stitches. Reducing strain is often the most effective way to keep the repair working.

Replacing a Broken Pull or Slider
A missing pull is the easiest repair. Thread a ribbon, narrow cord, or purpose-made zipper pull through the slider's hole. For a polished result, use a pull in a color that matches the hardware rather than a random key ring. On a handbag, a leather cord can look intentional; on a blouse, a small metal pull is less distracting.
Replacing the slider itself is more involved but still possible on many jackets, skirts, and bags. Remove the top stop with pliers, slide off the old part, and install a replacement of the same type and size. Coil, molded plastic, and metal-tooth zippers do not use interchangeable sliders. Measure the zipper width at the teeth when closed, and bring the old slider to a fabric store if you can.
After installing the new slider, stitch a firm bar of thread at the top so it cannot run off again. A replacement that is too large will separate; one that is too small will not move. This is where how to fix a zipper becomes less about force and more about matching the original hardware.
When a Zipper Needs Professional Repair
Some repairs are poor candidates for a kitchen table. Missing teeth in the middle of a zipper usually require replacing the entire zipper. A torn zipper tape on a lined coat may mean opening the lining, removing several rows of topstitching, and rebuilding the closure. On a tailored jacket, that work can involve a sleeve lining and carefully matched stitching. The repair is possible, but it is not a five-minute favor from your sewing basket.
Take a garment to an alterations specialist when the zipper is part of a fitted seam, when the fabric is delicate silk or satin, or when the closure is under substantial strain. Expect a basic slider replacement to cost roughly $10 to $25, while a dress or coat zipper replacement can run $30 to $100 or more depending on lining, length, and construction. A good tailor will inspect the surrounding seam before quoting the work.
I once worked on a vintage wool skirt with a zipper that had been replaced three times. Every replacement failed because the waistband was too small, pulling the center-back seam apart whenever the wearer sat down. The correct repair was a modest fit adjustment, followed by a new zipper. Hardware was not the real culprit.
Make the Repair Last
Keep zippers clean and close them before washing garments. Empty pockets before laundering jeans and coats, because keys and coins can bend teeth in the washer. Never iron directly over plastic teeth, and store dresses without allowing the zipper to press against rough jewelry or metal hangers.
For everyday clothing, a monthly inspection takes less than a minute. Look for loose topstitching, a frayed tape edge, or a slider that feels unusually loose. Catching those signs early is the practical heart of how to fix a zipper: diagnose the construction, make the smallest effective repair, and stop before a minor fault becomes a ruined garment. A zipper is only a row of teeth and a little hardware, but it still deserves the same respect as any seam holding your clothes together.





No notes yet — write the first one.