If you’ve been avoiding the hem dress pants sewing machine job because you’re afraid of messing up, I get it. After 12 years in bridal alterations, I’ve hemmed thousands of dress pants. This is one of the easiest alterations you can do at home, and with a basic sewing machine, a few supplies, and about 30 minutes, you can save the $15 to $25 a tailor charges per pair. This guide walks you through the whole process so the inside of your hem looks as clean as the outside.
What You Need for a Professional-Looking Hem
Before you touch the pants, gather your tools. You need a sewing machine with a straight stitch and, ideally, a blind hem stitch. A standard household machine like the Brother CS6000i or a vintage Singer works perfectly. Use a thread that matches the fabric. For wool trousers, choose polyester or cotton-wrapped polyester thread so it has a little stretch. You also need a seam ripper, fabric chalk, pins, a ruler or measuring tape, and an iron. An ironing board is non-negotiable: pressing at every step is what separates a rushed job from a tailored one.
Measure Twice, Mark Once
Put on the pants with the shoes you plan to wear. This is the foundation of any hem dress pants sewing machine adjustment. Have a helper pin the hem at the length you want, or measure from the floor with a ruler. Mark a line with chalk about 1.5 inches below the fold to account for the hem allowance. Take the pants off and lay them flat. Use the ruler to draw a straight line across the leg, then draw a second line 1.5 inches below it. Cut along the bottom line, preserving the extra fabric for the fold. If the pants still have the original hem, use a seam ripper to remove those stitches first.
Iron First, Stitch Later
Fold the raw edge up to your marked line and press with a hot, steamy iron. Then fold again, enclosing the raw edge inside the hem, and pin it in place. This double-fold method keeps the inside neat and prevents fraying. For a blind hem, use the blind hem stitch on your machine; it catches only a few threads of the face fabric, so the outside shows almost no stitching.
Straight Stitch vs Blind Hem: Which Should You Use?
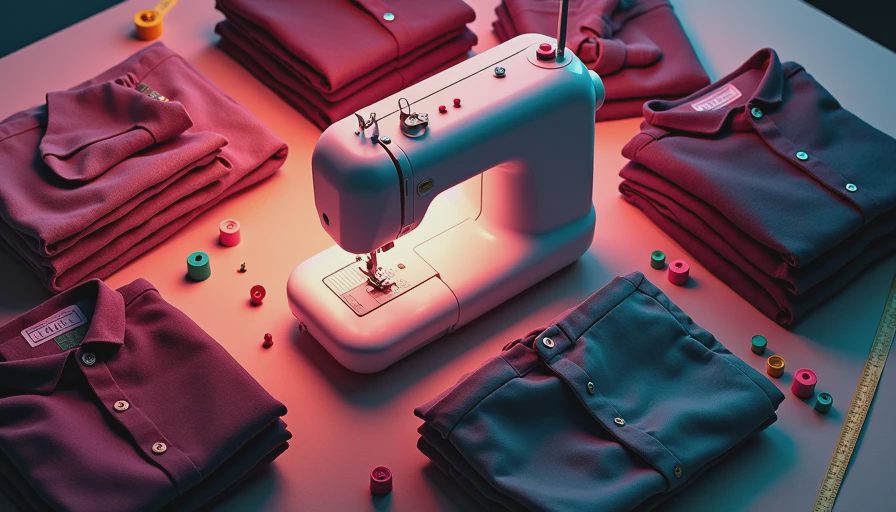
The biggest decision in any hem dress pants sewing machine project is which stitch to choose. For casual pants, a topstitched straight hem is durable and visible, like the hems on chinos. For dress pants, especially wool or suiting fabric, a blind hem is the more elegant option. The blind hem stitch makes three straight stitches, then a zigzag that catches the fold, creating a hem that is nearly invisible from the outside. Set your stitch length to 2.5 and practice on a scrap of the same fabric first. Thread the machine with matching thread and adjust the needle position so the zigzag nips the fold without puckering.
Sew Slowly and Keep the Fabric Flat
Start at the inside seam, leaving a 6-inch thread tail. Guide the fabric with both hands, keeping the hem edge along the seam guide on the machine bed. Dress pants fabric can shift, and a wavy seam is hard to unpick without leaving holes. Go slow. When you reach the end, backstitch a few stitches and trim the threads. Press the hem with a damp cloth to set the stitches into the fabric.
Choosing the Right Needle and Thread
Dress pant fabrics range from heavy wool to lightweight blends, so the needle matters. Use a size 70/10 or 80/12 universal needle for most dress pants. If the fabric has stretch, use a ballpoint or stretch needle to avoid skipped stitches. The thread should be polyester or cotton-wrapped polyester. Avoid cheap 100% cotton thread, which shreds in the machine. Wind the bobbin with the same thread, and test your stitches on the inside of the pant leg before you sew the actual hem.

Common Mistakes and How to Fix Them
Most home-sewn dress pant hems fail for three reasons. People skip the pressing step, and the hem rolls. They use a straight stitch on stretchy or slippery fabric, causing puckering. Or they cut the old hem before measuring, losing length they might need. If you make a mistake, use a seam ripper to remove the stitches gently, press the fabric again, and re-sew. The inside tells the truth, but you can always fix it.
When to Skip the Machine and Call a Tailor
Sometimes the hem dress pants sewing machine should stay in the closet. If the pants have a very tapered leg, delicate silk, or a heavily lined suit, or if you are working with a pattern or pleats that need matching, a professional alteration is worth the money. A tailor will charge $15 to $30 for a simple hem, and the result is invisible. That is reasonable for a high-end pair you plan to keep for years.
Deep Cuffs and Alternative Hems
If you want a cuff, the process is different. Instead of cutting the original hem, fold the fabric up twice to create a cuff. This preserves the original hem line, which many suiting fabrics need. Measure twice, press well, and try the pants on before you sew. A cuff adds weight to the ankle and changes the drape, so it is not the right choice for every leg shape.
FAQ: Hemming Dress Pants at Home
Can I hem dress pants with a regular sewing machine? Yes, any machine with a straight stitch works; a blind hem stitch is a bonus. Do I need to remove the old hem first? If the pants are too long, take out the original stitches and press out the old crease before re-hemming. How much fabric should I leave? A standard dress pant hem allowance is 1.5 to 2 inches. When in doubt, leave more fabric — you can always take it away later.


No notes yet — write the first one.